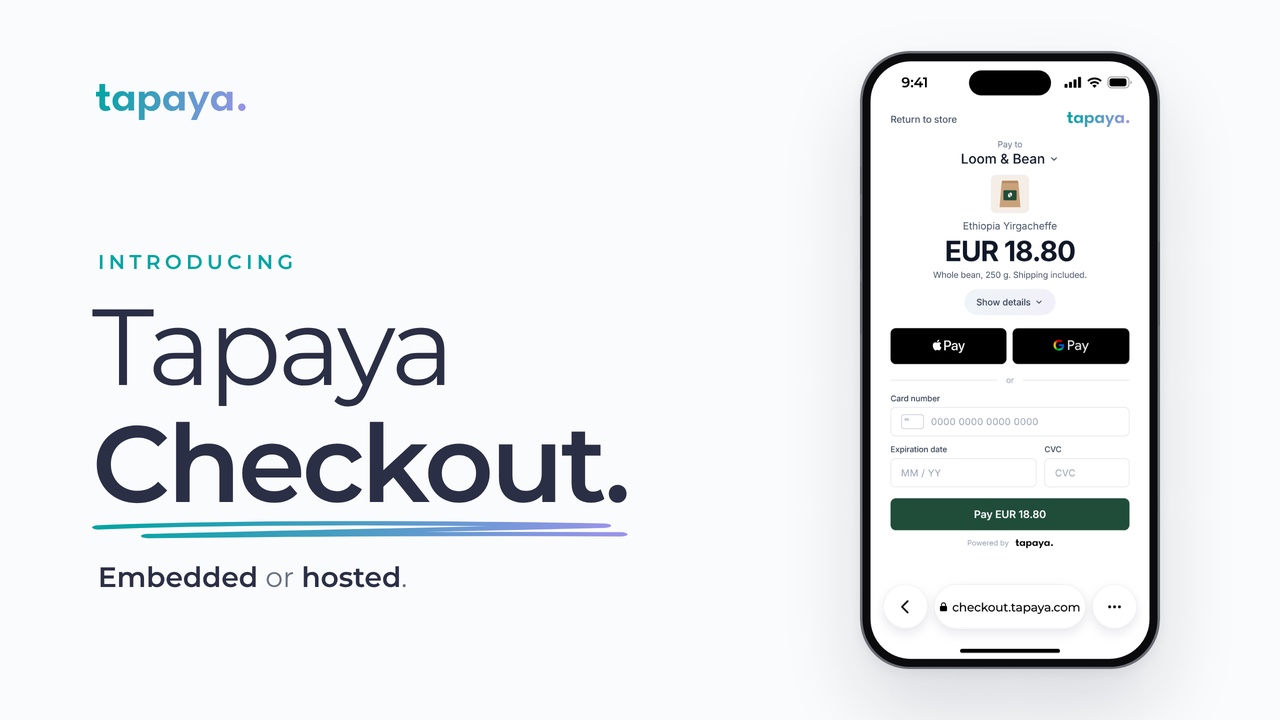
Tapaya Checkout brings online payments to Tapaya. Your merchants can accept cards, Apple Pay and Google Pay on any website, and you choose how much of the checkout you own.
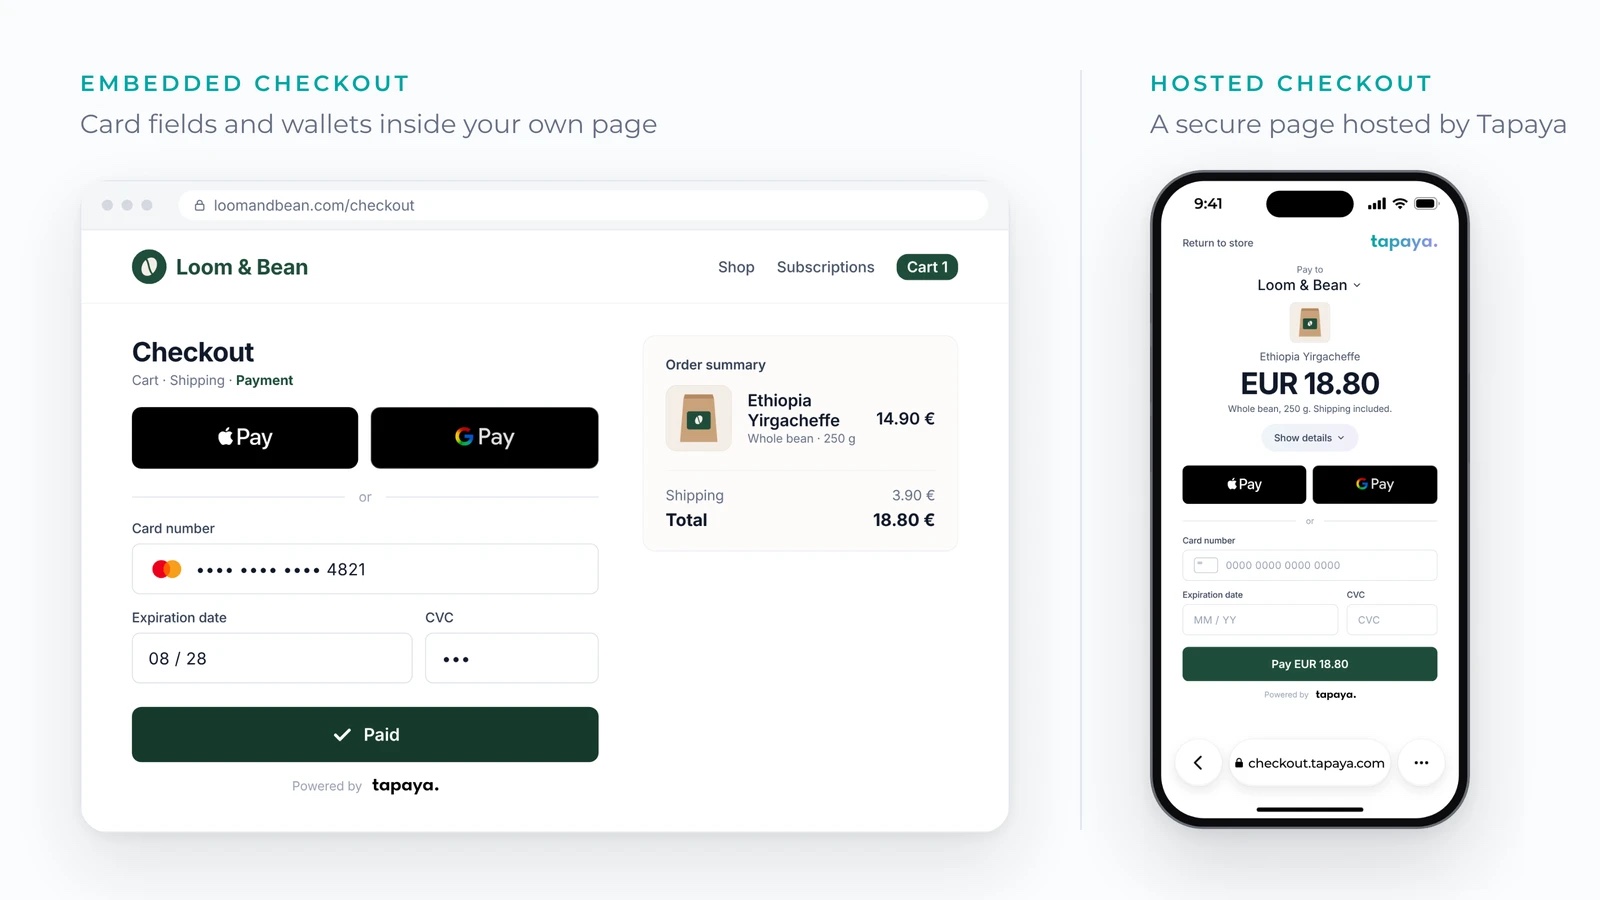
- Hosted Checkout. Your server creates a session and redirects the customer to a secure payment page that Tapaya hosts. It needs almost no front-end work.
- Embedded Checkout. Secure card fields and wallet buttons sit inside your own checkout page, next to your own Pay button.
Both use the same server-side model: create, redirect or mount, then verify on your server before you fulfil the order. You can start in the sandbox today at docs.tapaya.com.
What Tapaya Checkout is
Tapaya Checkout is the online side of Tapaya. It takes card, Apple Pay and Google Pay payments for your merchants through one API and one Node.js SDK. The idea is the same as for payments in person: you integrate once and keep the merchant experience in your product, and Tapaya handles the payments complexity underneath.
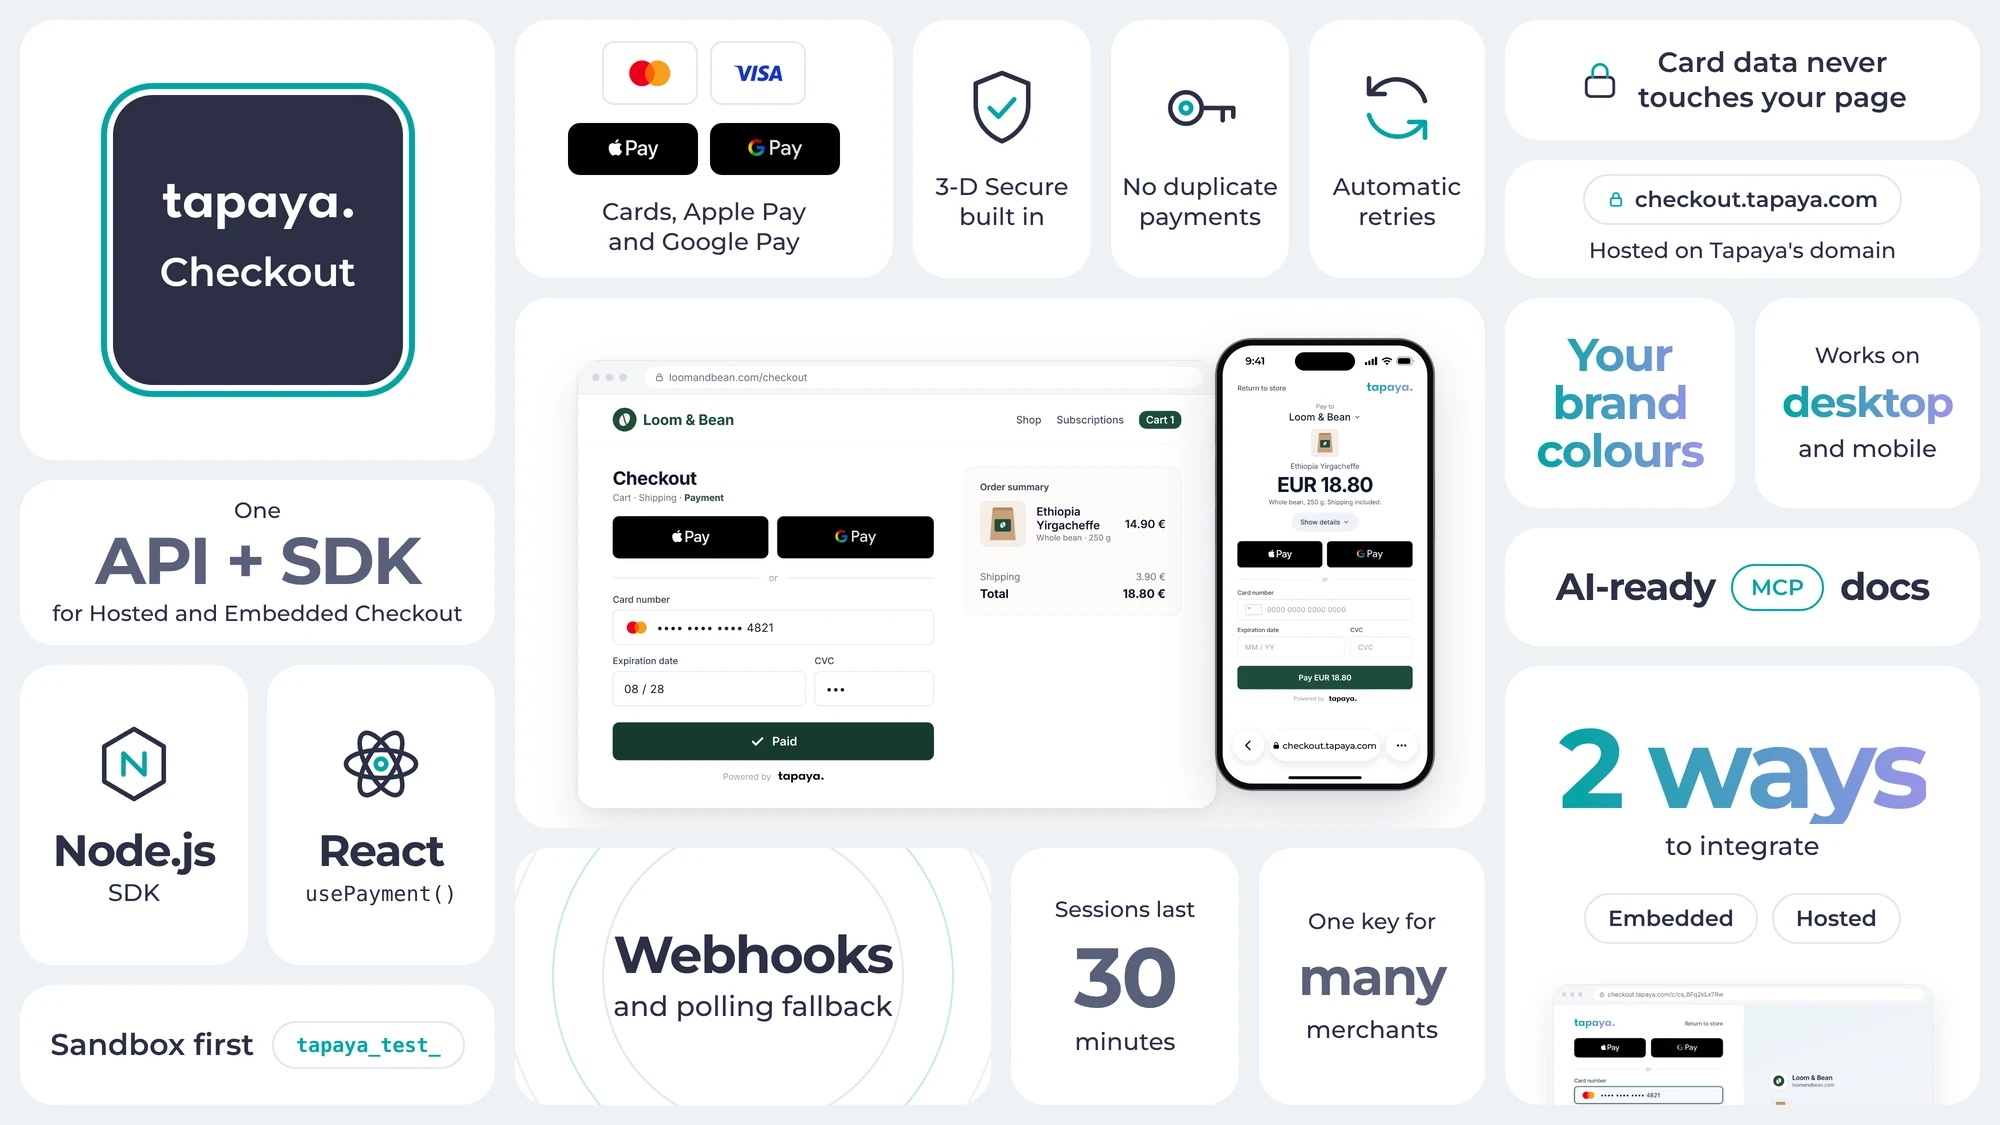
- Hosted Checkout gives you a ready-made payment page on Tapaya's domain, on desktop and mobile.
- Embedded Checkout gives you secure fields to mount in your own page. Card details stay inside Tapaya's frame and never reach your page.
Both run on the same building blocks: a server-side key, amounts in minor units (so 1880 means EUR 18.80), idempotent requests and server-side verification. Once you have built one, you know most of the other.
Hosted or Embedded: which one to choose
| Hosted Checkout | Embedded Checkout | |
|---|---|---|
| Where the customer pays | On a Tapaya-hosted page, then returns to your shop | Inside your own checkout page |
| Front-end work | A redirect | Mount the fields, handle submit() and state |
| Pay button | Tapaya's page | Your own button |
| Apple Pay and Google Pay | On the hosted page | Rendered in Tapaya's frame next to the card fields |
| 3-D Secure | Handled on the hosted page | Handled inside submit(), in Tapaya's frame |
| Best for | Getting live fast, simple shops, platforms with many merchants | Teams that want full control of the checkout experience |
If you are not sure, start with Hosted Checkout. Moving to Embedded later reuses the same keys, order model and verification logic.
Hosted Checkout in five steps
- Create a session on your server. Call
POST /merchant/checkout-sessionswithmerchantOrderId,amount(in minor units),currency,customer,successUrlandcancelUrl. Send anIdempotency-Keyheader. - Save the session ID on the order.
- Redirect the browser to
session.urlwith HTTP 303. Use the URL exactly as returned. - The customer pays on the hosted page. A declined card can be retried on the same page. Sessions accept payments for 30 minutes.
- Verify on your server. When the customer comes back to either return URL, call
GET /merchant/checkout-sessions/{id}. Check that the ID, order ID, amount and currency match your order, and fulfil only whenpaymentStatusissuccessful.
With the Node.js SDK (npm install @tapayadot/checkout, Node.js 22.13.0 or newer), the core of it looks like this:
import { Tapaya } from '@tapayadot/checkout'

// Reads TAPAYA_SECRET_KEY from the server environment.
const tapaya = new Tapaya()

// 1–3. Create the session and redirect the customer
const session = await tapaya.checkout.sessions.create(params, { idempotencyKey })
return Response.redirect(session.url, 303)

// 5. Later, on the return URL: verify before you fulfil
const current = await tapaya.checkout.sessions.get(sessionId)
The full parameters are in the CreateHostedCheckoutSessionParams type and the Hosted Checkout guide.
Embedded Checkout: secure fields in your own page
Embedded Checkout splits the work between your page and a small prepare endpoint on your server. In the browser, you load Tapaya from @tapayadot/checkout/client and mount the fields:
import { loadTapaya } from '@tapayadot/checkout/client'

const tapaya = await loadTapaya(publishableKey, { apiOrigin })
const payment = tapaya.createPayment({
  prepare: '/api/payments', // your server endpoint
  wallets: { amount: 1880, currency: 'EUR' },
  onChange: (snapshot) => { /* enable Pay when snapshot.canSubmit */ },
})
payment.mount('#card-fields')

// In your form handler:
await payment.submit() // validates, runs 3-D Secure, confirms
On your server, the prepare endpoint loads the order and reuses an existing payment if there is one. Otherwise it creates one with POST /merchant/payments and an idempotency key. It then returns { clientSecret, status }. React apps can use usePayment() from @tapayadot/checkout/react.
A few things to know:
- Add
https://js.tapaya.comtoscript-srcandframe-srcin your Content Security Policy. - Import
@tapayadot/checkoutonly on the server. The browser uses the/cliententry point. snapshot.outcometells you what to show:open,pending,completedorended.- Wallet buttons appear only where they are supported and turned on. Apple Pay needs an active shop domain, and live Google Pay needs a merchant ID.
The full flow is in the Embedded Checkout guide.
Built for reliable integrations
Payments fail in untidy ways: a timeout, a customer who closes the tab, a retry that arrives twice. Tapaya Checkout is built so you can handle each of these.
- Idempotency keys on every create. Retry with the same key and the same body, and you get the original session or payment back. A changed body returns HTTP 409.
- Built-in retries in the Node.js SDK. It retries twice by default on connection errors, timeouts and HTTP 429, 502, 503 and 504, with jittered back-off.
- One payment per order. A new session for the same order expires the previous one. A paid order, or one with a payment in progress, is refused.
- Webhooks plus polling. Subscribe to checkout session events, and keep checking unresolved sessions as a fallback.
- Verify, then fulfil, once. A visit to your success URL proves nothing on its own. Always confirm the status on your server, and record fulfilment atomically.
Before you go live, run every outcome with the sandbox test cards and work through the QA checklist.
Build it faster with the Tapaya Docs MCP server
Tapaya's documentation has its own MCP server. Your AI coding tools can search the guides and look up API endpoints while you build, without leaving the editor. It works with Claude Code, Claude Desktop, Cursor, VS Code, Codex and any other MCP client. It is public and needs no API key.
claude mcp add --transport http tapaya-docs https://docs.tapaya.com/mcpIt never calls the live Tapaya API and never asks for keys. Setup for each client is in MCP Setup.
From sandbox to live
- Onboard the merchant with the online payments capability, and wait until it shows as Ready in Checkout on the Tapaya Platform.
- Add your shop to Allowed websites and set default success and cancel URLs.
- Build in the sandbox with a
tapaya_test_key, kept on your server only. - Switch to production: a production key,
TAPAYA_ENVIRONMENT=productionand production return URLs. - Set up wallets for live use: the Apple Pay shop domain and the Google Pay merchant ID.
The Quick Start Guide takes you from zero to a first sandbox payment in a few server calls.
Frequently asked questions
Which payment methods does Tapaya Checkout support?
Cards, Apple Pay and Google Pay, on both Hosted and Embedded Checkout.
Do card details pass through my server or page?
No. On Hosted Checkout the customer pays on Tapaya's page. On Embedded Checkout the card fields and 3-D Secure run inside Tapaya's frame, and card data never reaches your page.
How long is a Hosted Checkout session valid?
30 minutes from creation. A payment submitted before then still completes. If the order is still unpaid after that, create a new session.
Is there an SDK?
Yes, @tapayadot/checkout for Node.js 22.13.0 or newer. It covers Hosted Checkout on the server, plus browser and React entry points for Embedded Checkout. Other stacks can call the REST API directly.
Can platforms take payments for many merchants?
Yes. Use the organisation Secret key and send a merchant token with each request.
Get started
Read the Online Payments overview at docs.tapaya.com, create a sandbox key, and take your first test payment today. Questions about your integration? Write to developers@tapaya.com.